For this tutorial, we'll be managing DNS settings with NameCheap.
We only recommend following this guide if you are established with NameCheap; if you are just starting out, then we recommend using CloudFlare instead.
To get started, head over to your DNS settings page for your domain name.
Go to Dashboard → Domain List, then click the Manage button next to the domain you want to use. Under 'NAMESERVERS', make sure Namecheap BasicDNS is selected. Finally, click on the "Advanced DNS" in the top just under where the domain is displayed.
For other hosts, check out this handy reference - http://support.google.com/blogger/bin/answer.py?hl=en&answer=58317
You should now be on a page where you see DNS record options similar to the following screenshot: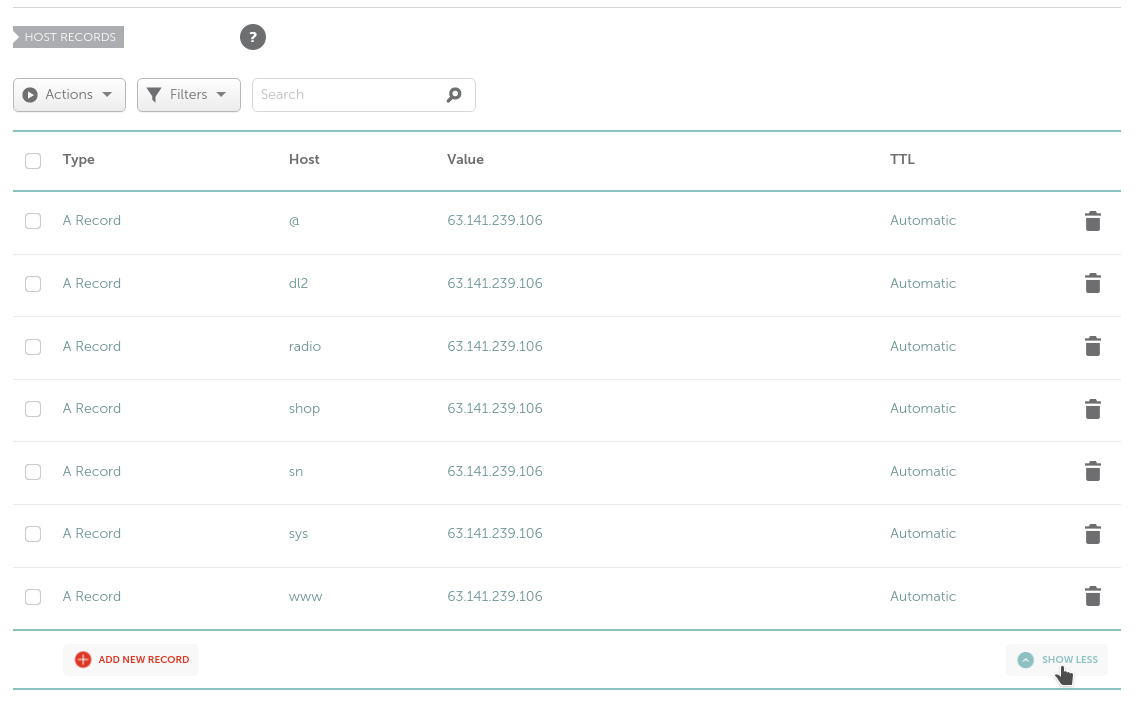
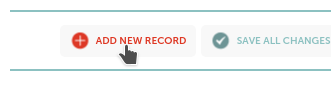
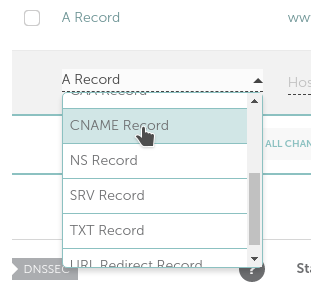
Click "ADD NEW RECORD", and select CNAME, like so
In the 'Host' field, enter the name of the subdomain address you wish to use. For example, if you wish to connect to your minecraft server at play.example.com:25628, enter play in the field.
In the Target field, enter the address of your Oddblox server (without the port number). For example, s2.oddblox.us
Your settings should now look something like the following screenshot:
Click "Save Changes", and you're done! Please note that it can take several hours for the DNS information to propagate, meaning you may not be able to connect to your server using the new information immediately.
